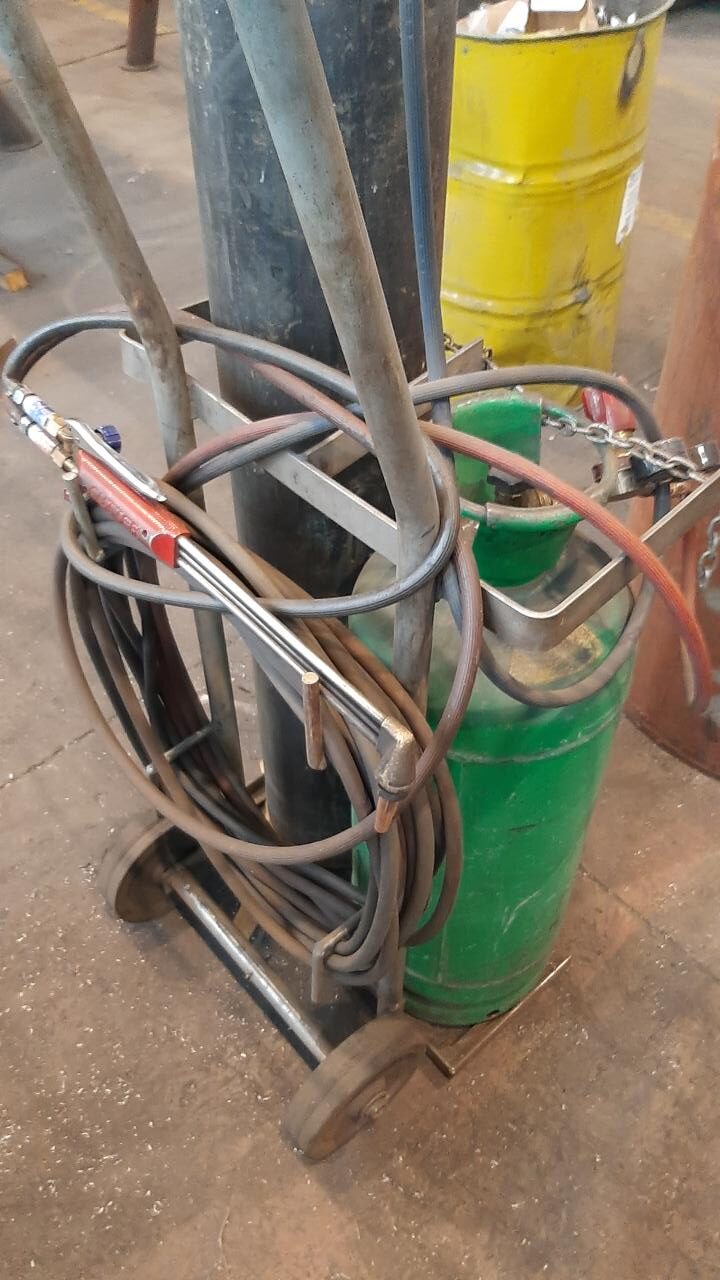
Setting up a cutting torch
- Choose what gasses you are going to use.
- Connect the flashback arrestors to the torch and regulators
- Connect regulators to the cylinders
- Connect the hoses to the torch and regulators
- Make sure there are no leaks
- Insert the correct nozzle for the gas used
What gasses to use
The gasses that are used in oxy-fuel cutting are oxygen and acetylene or LPG. They are mixed to produce the oxy-fuel which is oxy-acetylene or oxy-propane depending on the gas used.
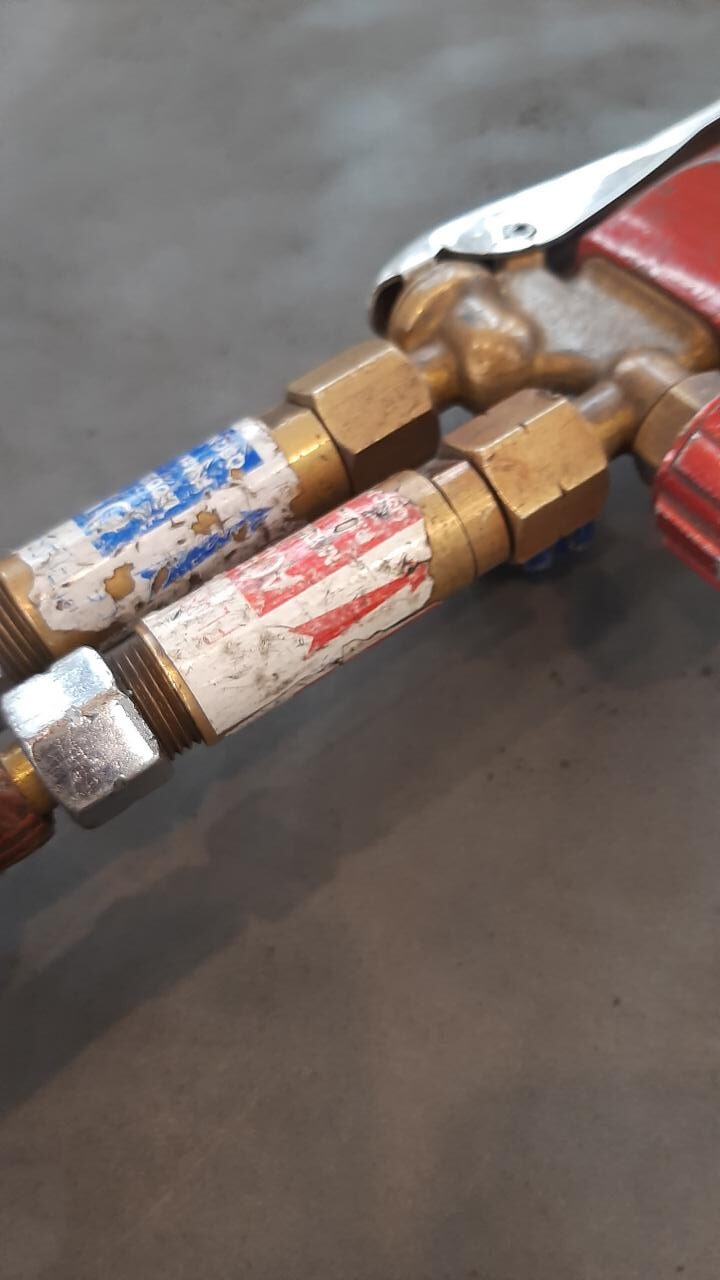
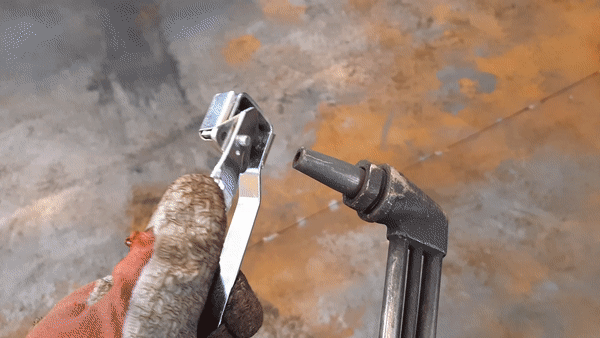
Note: The nuts with the grooves indicate that it’s an opposite thread only used for flammable gasses.
What are flashback arrestor
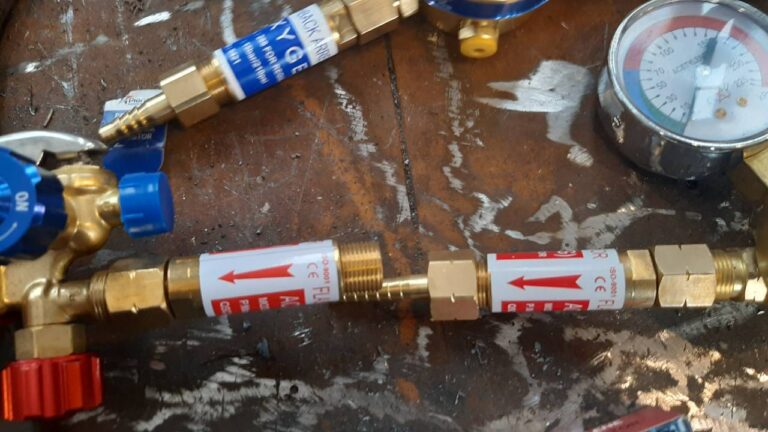
A flashback arrestor is used to prevent the lit gas from going back into the bottle and stop any danger that can be caused by it, such as an explosion or a burning cylinder. You should have a flashback arrestor on your torch and regulator. Just remember to put them into the correct directions as indicated here.
It can happen that the hoses are damaged without the operator knowing and catch a flame while you are cutting. The flashback on the regulator will then provide protection against flames from entering the cylinder.
Where it is most lt is most likely to happen is when the cylinder is emptying. Still don’t worry the flame entering the bottle is highly unlikely to happen in any situation, but it is better to be safe than sorry.
Regulators

Regulators do exactly what the name says, they regulate the flow of gas. They consist of two pressure gauges and a valve.
The valve is turned to adjust the amount of gas flow. The one gauge indicates the gas flow, while the other one indicates the cylinder’s pressure. You will know there’s not enough gas to cut when your gauge shows no pressure, even if there’s still gas in it.
You can use the same regulator for acetylene or LPG.
Hoses
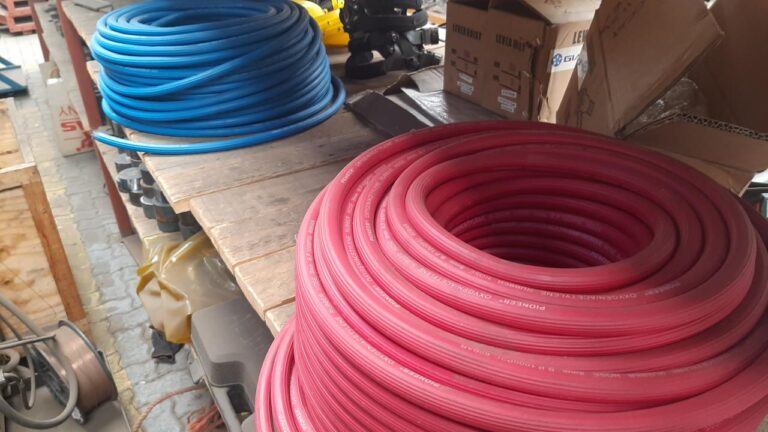
The hoses used are different in color, but mainly the same in function. The blue hose is used for the oxygen and the red one is used for the flammable gas. You can interchange these two, but you shouldn’t. Keep the hose colors with the corresponding gas so you can clearly identify which hose contains what gas visually.
Leaks
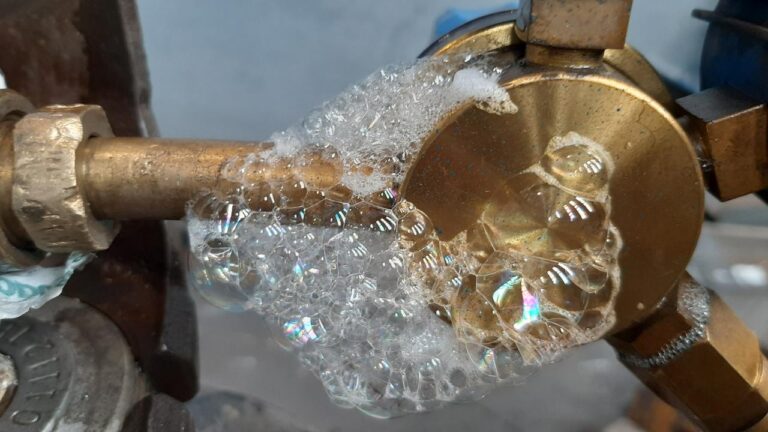
After connecting everything a leak test must be performed on the gauge, pipes, and the connection to the torch. These leak tests are vital to prevent any gas from leaking.
The flammable gases have a distinct stink smell to them for anyone to immediately notice there’s a leak. Oxygen doesn’t have any smell so it is important to test for leaks.
How to do a leak test
You will need a spray bottle and soap water. Avoid any oil-based soap because oil on a valve is dangerous and can lead to an explosion.
Spray the soapy water onto the gauge and wherever you want to check for leaks. If there are bubbles forming then there’s a leak at that spot. Small leaks can form a lot of bubbles so don’t panic if you see a ton of bubbles forming.
Different nozzles
Depending on what flammable gas you are using you have to use one of two different nozzles. For acetylene, you use an ANME nozzle and for LPG you use a PNME nozzle. I covered these two nozzles in my post about “Which metals can and can’t you cut using oxy-fuel cutting” that you can go and read if you want to know more.
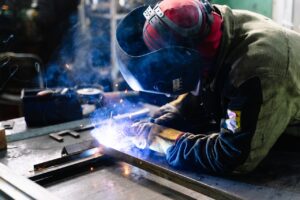
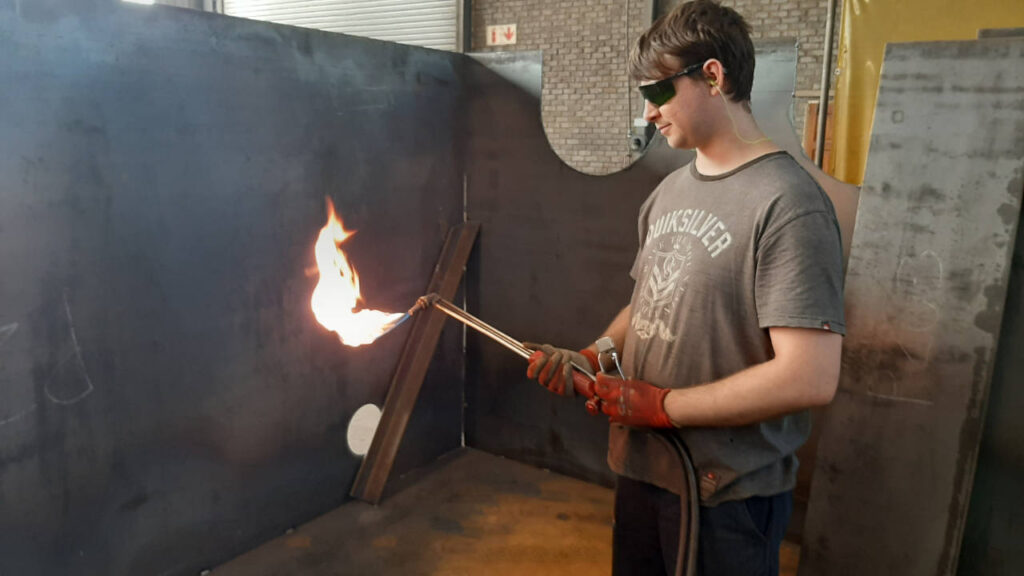
Cutting torch
The cutting torch is the tool you hold that is used to cut. It has a valve for flammable gas and oxygen. A lever is pressed to supply a stream of oxygen that blows away the heated metal and forms the cut.
How to cut with the cutting torch
Cutting with a torch requires a steady hand, patience, some knowledge, and confidence. It is still a skill to cut with an oxy-fuel torch. Like any skill the more you practice the better you will get.
Nozzle size to use with Oxygen PSI and cutting speed
Nozzle size | Plate size | Cutting Speed mm/ min | Oxygen PSI |
1/32 = 0.8mm | 1-6mm | 600-450 | 30 |
3/64 = 1.2mm | 6-20mm | 450-350 | 30 |
1/16 = 1.6mm | 20-50mm | 300-200 | 30 |
5/64 = 2.0mm | 50-120mm | 150-100 | 40 |
Lighting the flame
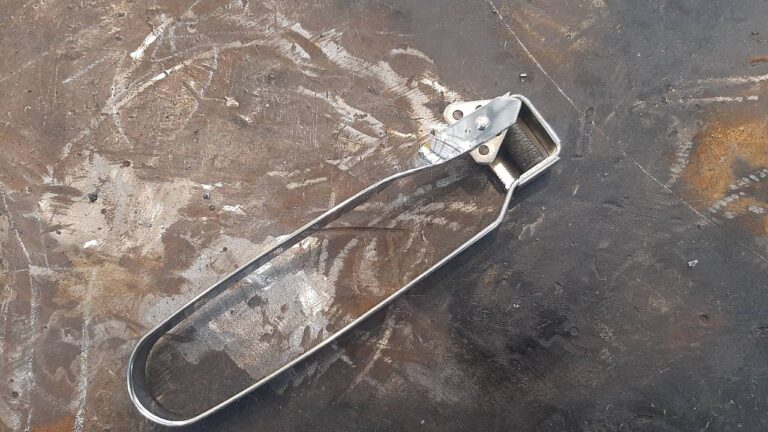
You get a special type of lighter that is used to light an oxy-fuel cutting torch and it’s called a spark lighter. It is basically just flint and steel in an easy-to-use casing.
How to use a spark lighter
- You hold the spark lighter’s head to the front of the cutting torch’s nozzle
- Open your flammable gas slightly
- Press down onto the lighter. This will form a spark and ignite the gas.
- Turn the oxygen till you get a blue flame
- Adjust both valves till you get the correct flame
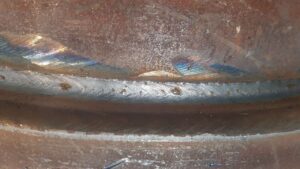
Getting the correct flame
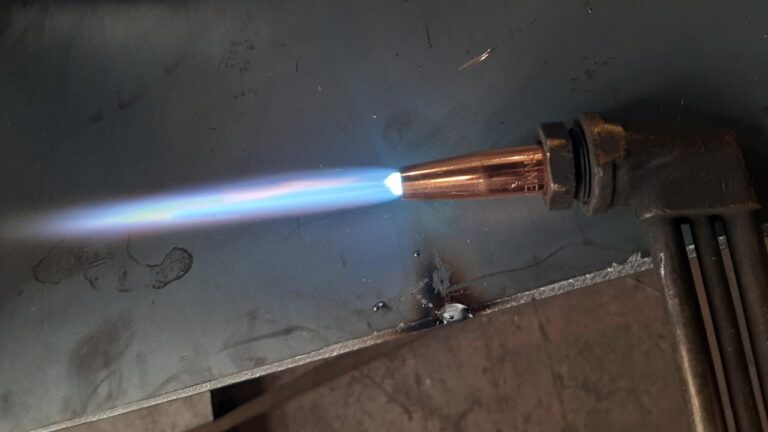
Getting the correct flame is vital to the quality and size of your cut. An incorrect flame can result in a lot thicker cut, an ugly v shape cut, or not even cut through at all. There are visual and audible cues to check for.
- Visually your small ring flames should be short and of equal length. When pressing the lever the flame’s overall length should increase and the middle should have two longitudinal lines of equal length.
- Our flame should almost sound like what a jet engine would.
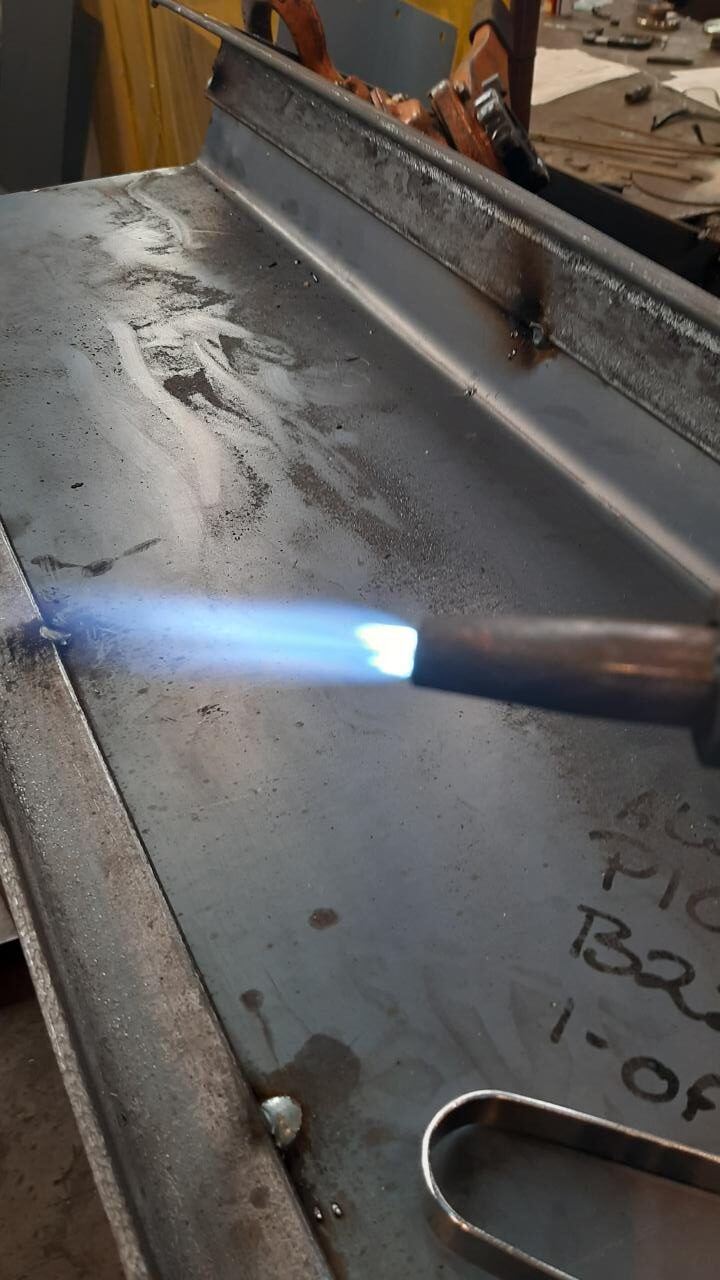
How to start cutting with a cutting torch
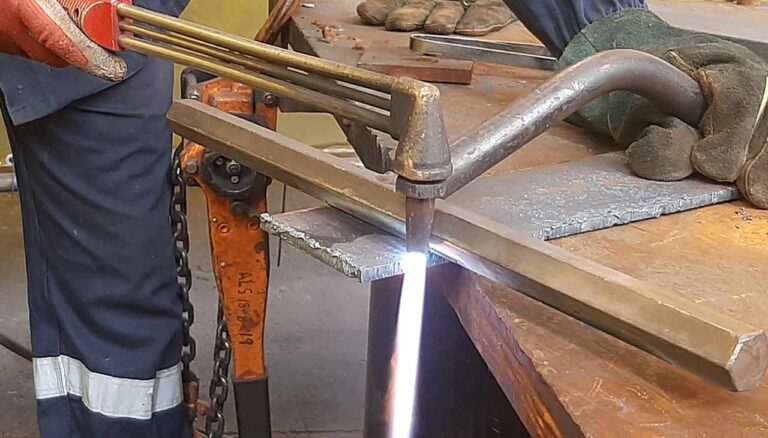
- Hold about 50% of your lit nozzle about half an inch above the corner of where you want to cut.
- Warm up the edge of the metal till red hot
- Press down on the lever
- Start moving the torch towards yourself
- You should have a constant flow of sparks when cutting.
There are a bunch of different general shapes you can cut with a cutting torch like a circle, bevel or straight. For each one use these basic steps and a few additional steps that are unique to each shape.
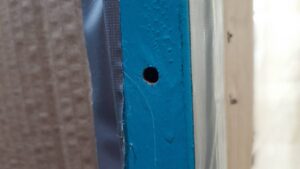
There are a few things that can go wrong while cutting like
- Cutting just stopped
- Blowback
- Forming a hole