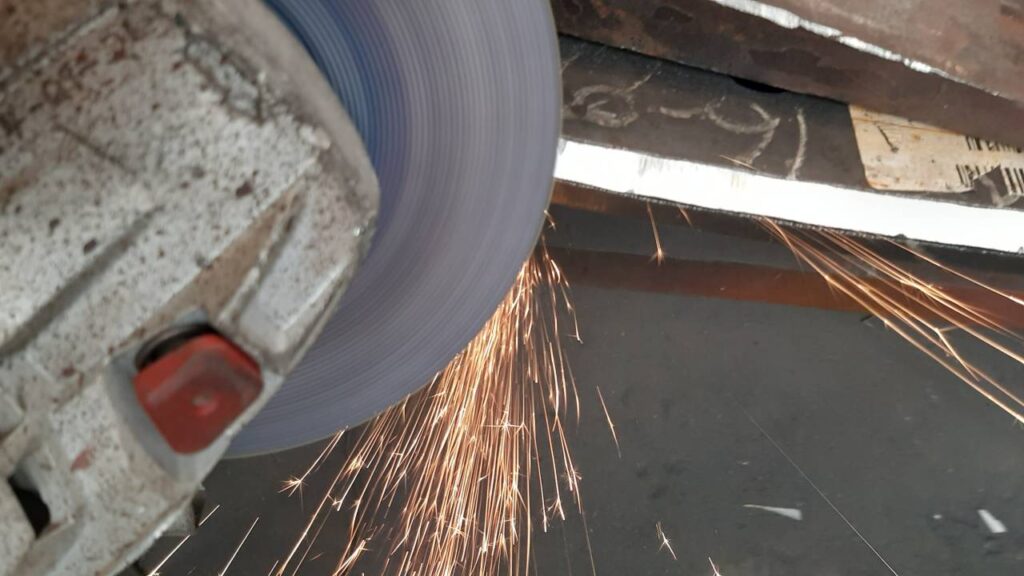
An angle grinder is such a versatile tool and one of its main uses is to grind or polish metals. This is achieved by using a grinding disc or a flapper wheel.
What’s a grinding disc
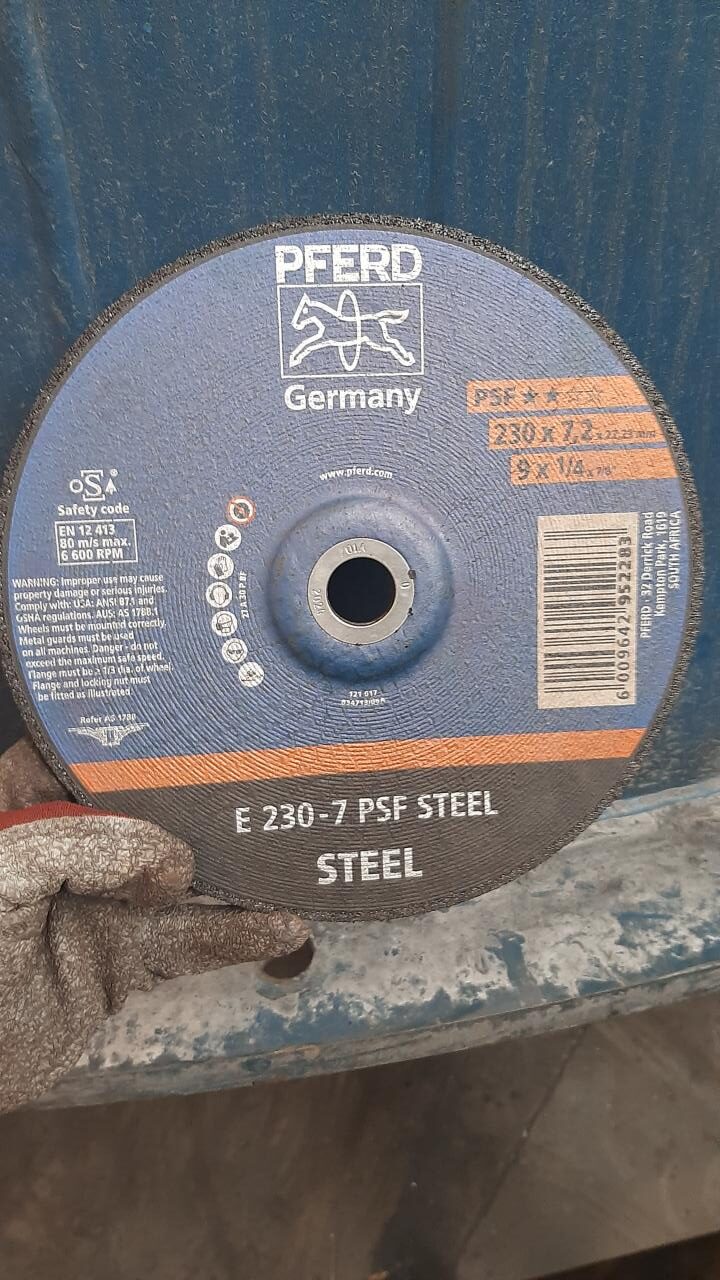
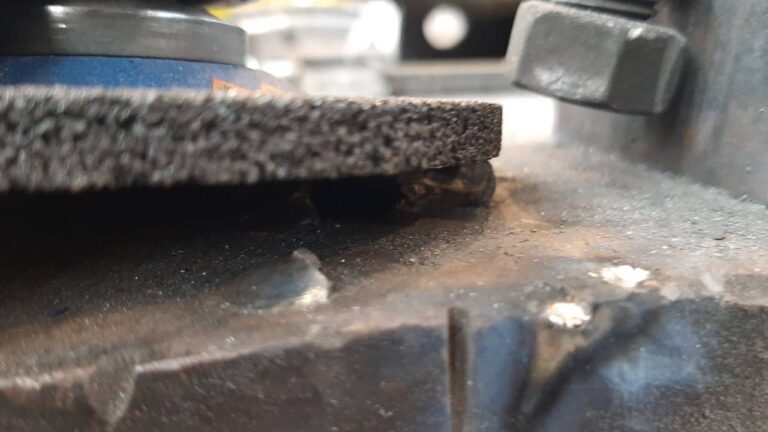
A grinding disc is a rounded hardened mixture that contains a bonding agent, abrasives, and some additives depending on the manufacturer.
They are used to grind down metals such as welds, burr, or for creating chamfers. They are also needed to prep work for welding by removing anything that can affect your weld such as scale, oil, paint, or just to smooth out a surface for a neater weld.
There’s a great table you can check on Wikipedia on the different bond names, bond symbols, and a short description.
Choosing the right grinding wheel
This depends on what metal you will need to grind. A rule of thumb is that the harder the metal the harder the disc should be. But for specific metals like stainless, you should use a disc dedicated to grinding stainless because generic grinding discs can contaminate the stainless and cause rust to form where it was ground.
What’s a flapper disc
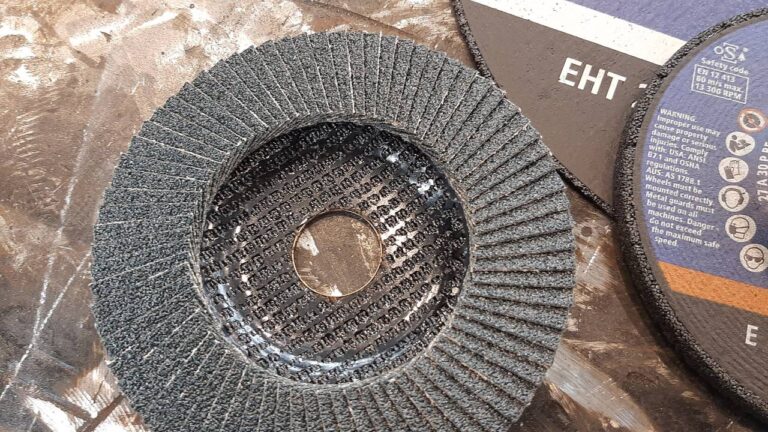
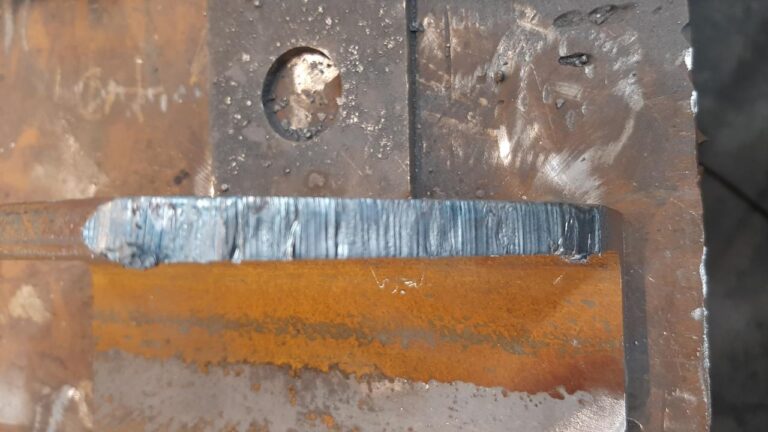
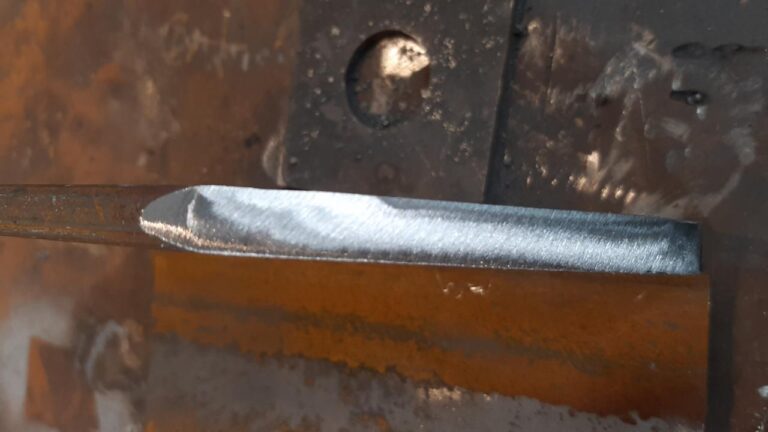
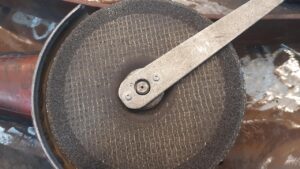
A flapper disc is made from different grit overlapping sandpaper. These discs are used to polish metals. I found them to work exceptionally well after cutting with an oxy-fueled cutting torch to smooth down the rough cut.
Polishing metals work with the same concept as wood. The finer the grit the smoother the metal, but this isn’t something to be of high concern because you will most likely cover it with paint.
That is why I recommend a flapper wheel for smoothing rough cuts or to dress(removing any spatter or smoothing it) welds.
Creating a chamfer onto metal by grinding
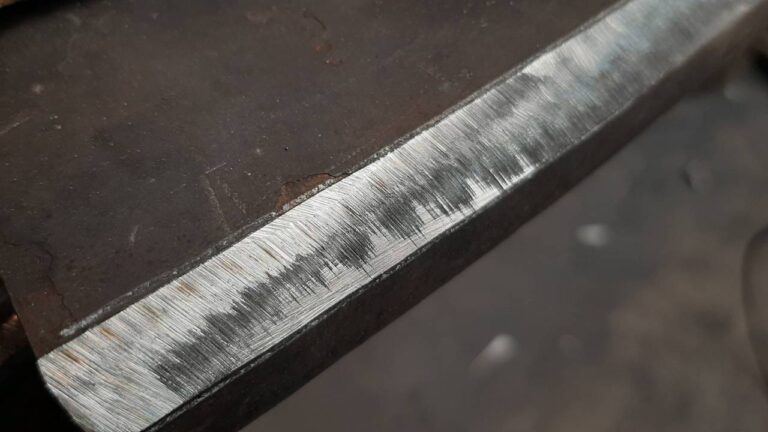
A chamfer or bevel can have multiple purposes. For example, when you just want a chamfer for your design, when it needs to slide into something, or the most likely use is to create a prep for a weld that has to be ground flat.
1. Mark out where you need to chamfer
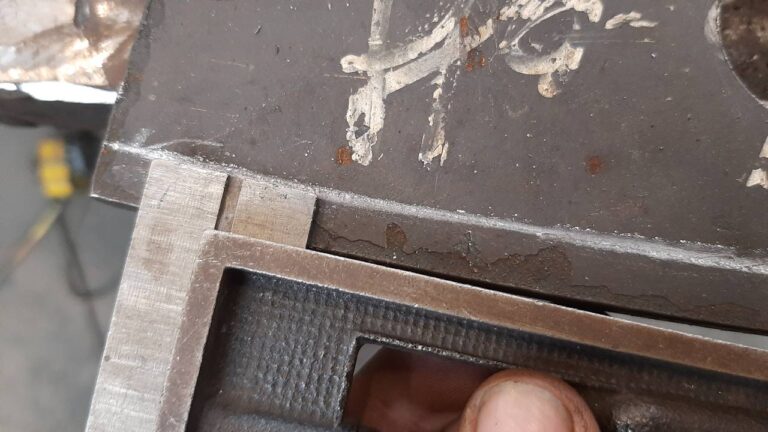
If it is a concern for you to have an equal and smooth chamfer you should mark out where the chamfer will be. I recommend this because it helps you to guide where you must grind and it looks professional.
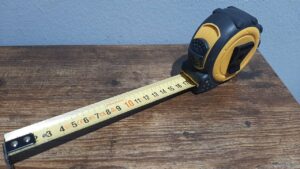
You can achieve this by getting a back mark and creating a line on both sides so your angle will also be correct.
2. Grind till about an mm or half to your lines
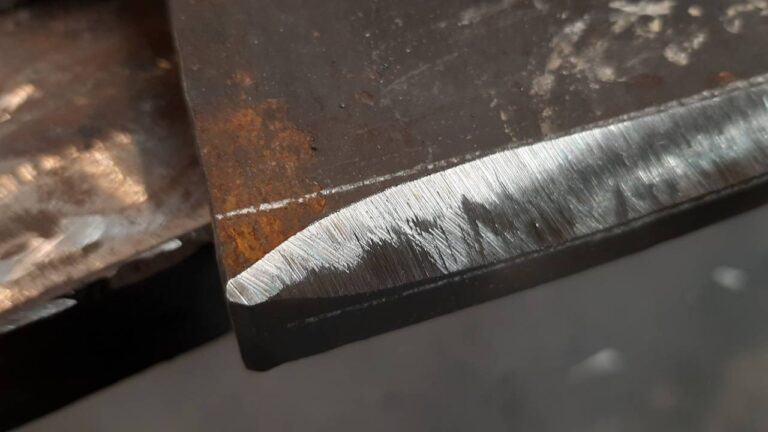
You can keep your grinder at a greater angle to grind down a lot faster till you reach about an mm or a half. Stopping before the line is to avoid creating any cavities or dips.
If you have a little nub at the end after grinding rather just leave it and grind it off with the next step.
3. Hold down your disc flat for a smooth finish
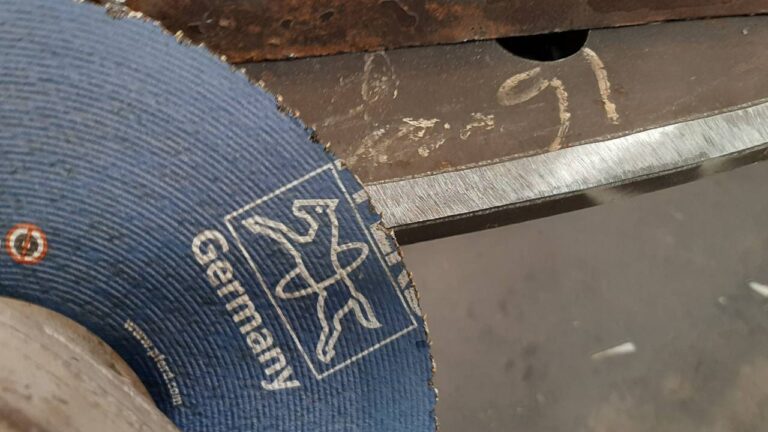
After reaching that mm point hold your grinder flap to the metal to get a smooth down and equal surface. You will have to be patient because this process can take a bit of time but if you want a smooth surface you will need to do this.
You can even use a flapper disc after this step to give a smoother surface.
Important notes when grinding
The main problem with grinding is that it takes a bit of time to do it correctly. Sometimes we are in a rush and we force the edge of the grinder into the metal. This can be very dangerous because you might get kickback.
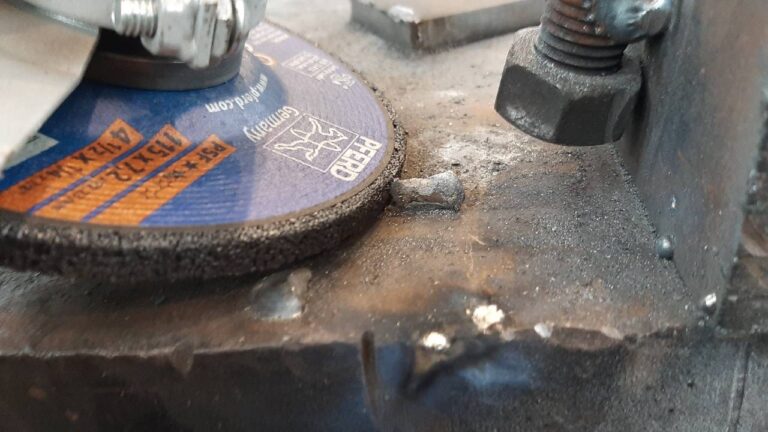
Always keep your grinder at a 20° to 30° angle when grinding surfaces this will help with kickback and don’t force it down onto the metal by pressing down on it while grinding. Rather have the weight of the grinder do most of the work and only apply slight pressure.
PPE to wear when grinding
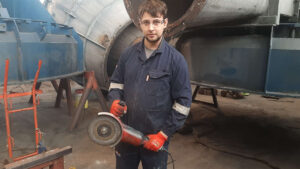
The personal protective equipment you should wear when grinding is the basics that include
- Overalls
- Safety shoes
- Safety glasses
- Earplugs
These are must-haves at all times, but I also recommend wearing
- Face shield
- Shoe aprons
- Apron
Conclusion
As I mentioned grinding takes a lot of patients and the more you rush the process of grinding the more dangerous it gets and the more the quality of your grind work will drop.
Before grinding metal you will most likely need to cut it. I recommend reading my guide on cutting with an angle grinder and cutting different metal profiles with an angle grinder.

