How to cut a circle or radius with an oxy-fuel cutting torch
Mark the center of the circle/radius
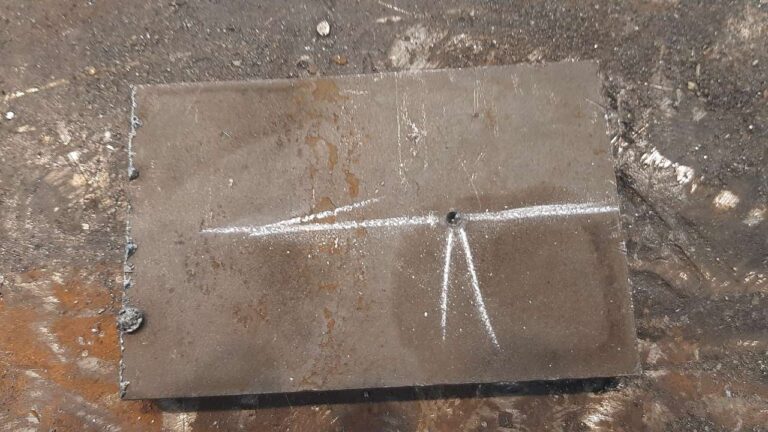
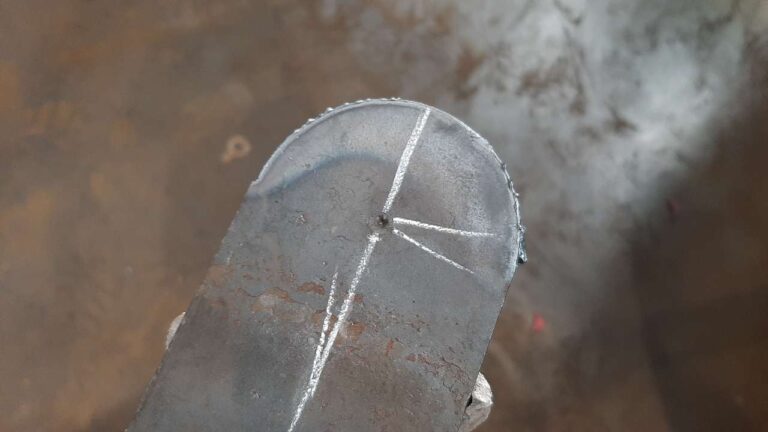
The first thing you will have to do before you start cutting you will have to mark out the center of the circle you want to cut out. You can easily achieve this by marking the length of the radius from one side of the plate and then drawing a straight line down through your center markings. Afterward, you mark the length of the radius on the line. You will get to the center of your circle and not waste unnecessary material.
Make a pop mark at the center of the circle/radius
After you marked the center you will need to make a pop mark with a center punch. This is done to keep your radius cutter at the center of the circle and prevent it from slipping while you are cutting.
Connect your radius cutter
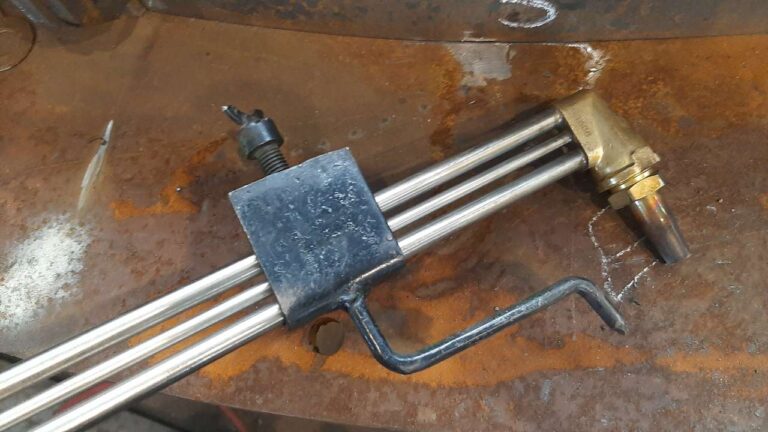
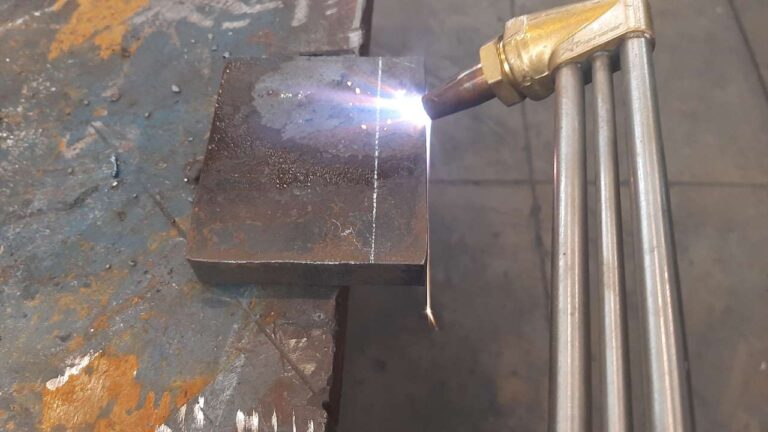
Place your radius cutter onto your cutting torch with the pin of the cutter and the center of your cutting nozzle at the length of your radius apart from each other. How I like to do this is to make an additional pop mark on the line where you are going to cut then place the pin of the cutter into the center pop and line up the center of the nozzle to the second pop mark with my eyes. This is usually enough but you can double-check it with a tape measure.
What is a radius cutter?
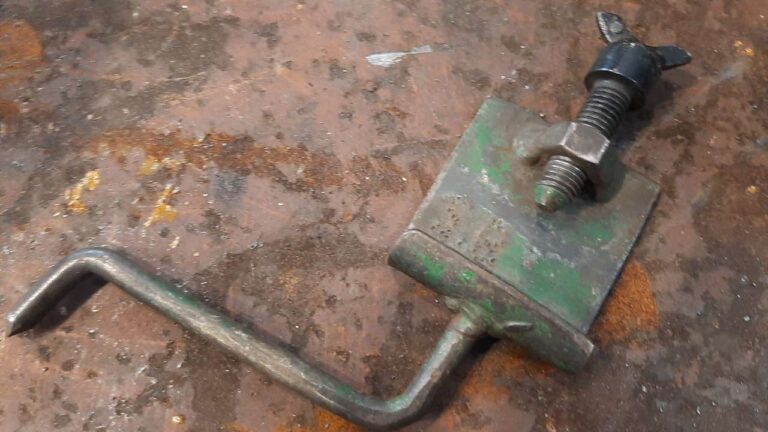
A radius cutter is a tool that you connect to an oxy-fuel cutting torch to cut out a circle or a radius from a piece of metal. A radius cutter is one of the few tools you can make yourself in a workshop.
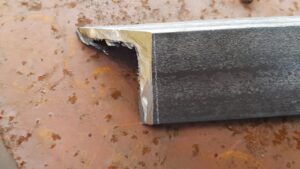
How to make your own radius cutter
The simplest way you can make a radius cutter is by taking a relatively large bolt and nut, about an m32 or larger. Cut down the center of the bolt’s shaft with an angle grinder and a cutting disc a few times till you have a gap about the size of the cutting torch’s neck.
Take a round bar about 6 to 8mm and sharpen the one side and bend it 90 degrees. The blunt side of the round bar should then be welded to the bolt’s head with the shart edge being off-center from the bolt similar to the pictures shown above.
Place the cutting torch neck into the bolt then tighten the nut over the neck. Try to avoid tightening too much because you can bend the pipes of the torch’s neck.
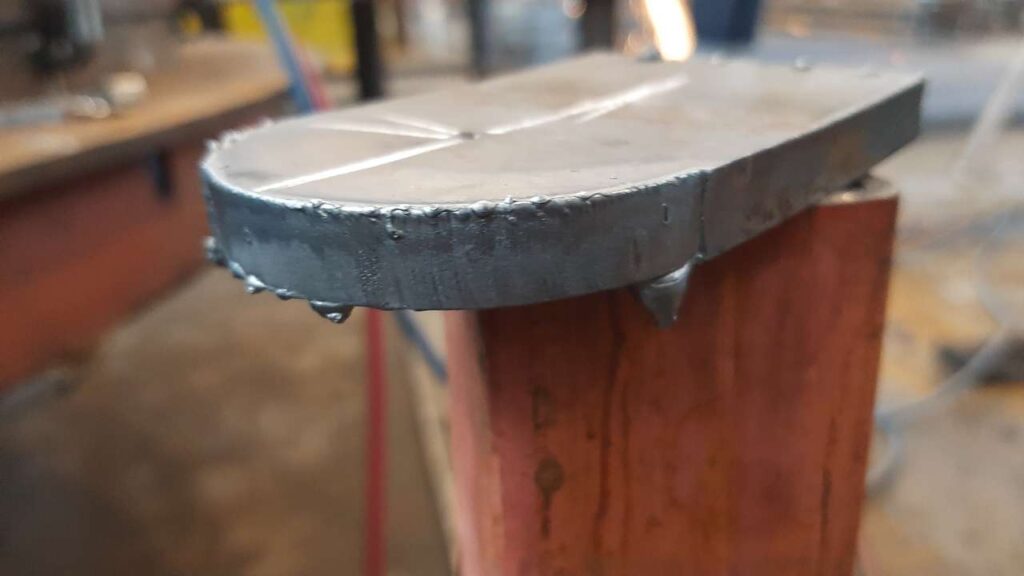
Start the cut

After you have done all these steps the next and most important step is to cut out the circle or radius. If you aren’t sure how to use a cutting torch I recommend reading my post on how to set up and cut with an oxy-fuel cutting torch.
There are one of two ways you can start to cut. If you are close to the edge you can keep the pin of the cutter in the center and just start cutting your radius as per usual. Else you will have to edge start, this is where you start to cut a line from the edge down to where you want to cut.
This results in a neater start to your circle than a piercing start. An edge start for a radius or circle is best achieved by moving the torch down to the center pop for the cutter’s pin to fall into while you are cutting.
Cut your circle/radius out
When you are cutting make sure to keep your torch square to your plate and walk slowly on the opposite side of the torch along with the movement of the torch. Try to keep a steady pace when walking and remove any obstructions out of your way before start cutting.
Practice
If you don’t get it right the first time try smaller radiuses and keep practicing. It takes time to get used to the motion and a lot of practice. It took me a few years in the industry before I go it right, that being said I didn’t do it every day but if I have to count the hour together it will probably add up to a day or more. What I am saying is to now give up, especially with oxy-fuel cutting which is a difficult task to master.
How to cut a bevel with a cutting torch
Mark out the bevel
First of all, you will need to mark out the bevel you want to cut into the metal. I recommend making a line on both sides of the piece of metal so you have a neat line to follow while you are cutting
Heat up the metal
Secondly, you will have to heat up the piece of metal before you cut. I recommend heating the corner of the plate, opposite where your line is, till it is red hot. Don’t heat the whole plate till it is red hot else you may not have a smooth cut at the top of the plate.
Cutting the bevel
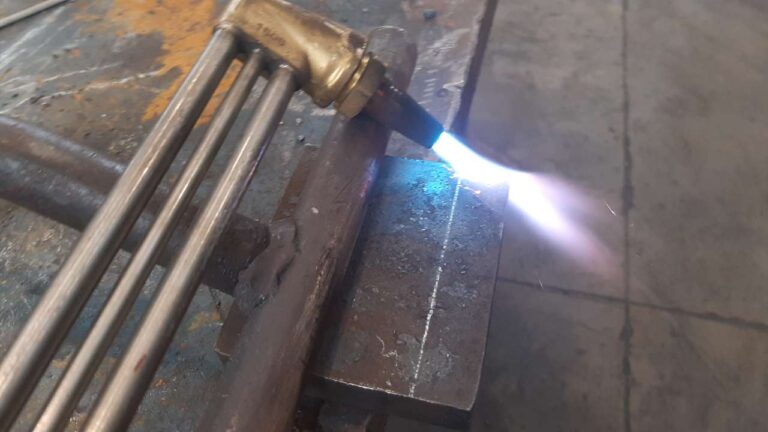
You should use a round bar or some sort of guide piece of metal to help you keep the cutting torch straight and on the line. Cut the bevel by placing your torch at the desired angle and slowly cut. If you don’t see a lot of sparks flying and more of a bubbly slag forming at the bottom. Don’t worry this is normal and won’t affect your bevel, you will only need to remove the slag afterward.
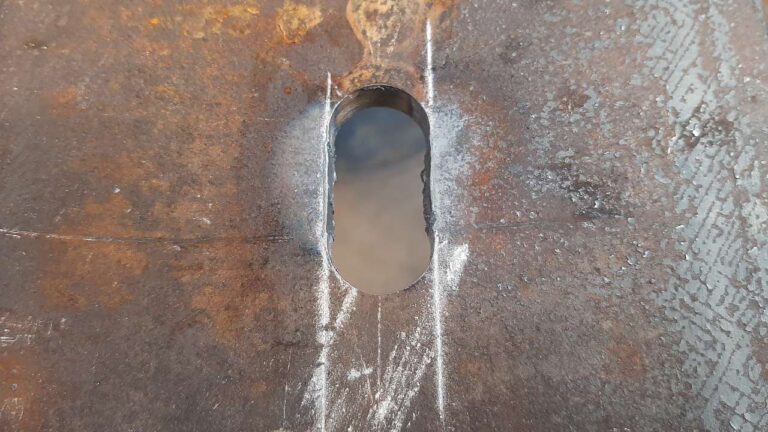
Problems you might face

If you find any irregular gouges in the cut then the most likely culprit is that the plate might not have been hot enough. Next time try heating up the bottom of the plate where you are going to cut before you start. You don’t have to make it red hot but a few seconds of heat will definitely help.
The amount of heat will definitely depend on the thickness of the plate. The thicker it is the more heat you will have to apply to it. As mentioned above you should practice and the more bevels you cut the better you will get at it.
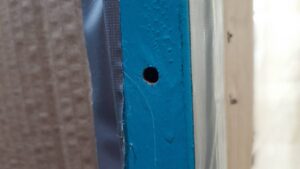
How to cut a straight line with a cutting torch
If you find any irregular gouges in the cut then the most likely culprit is that the plate might not have been hot enough. Next time try heating up the bottom of the plate where you are going to cut before you start. You don’t have to make it red hot but a few seconds of heat will definitely help.
The amount of heat will definitely depend on the thickness of the plate. The thicker it is the more heat you will have to apply to it. As mentioned above you should practice and the more bevels you cut the better you will get at it.
Mark out your line

You will firstly have to mark out the line where you want to cut. Note that the best practice is to cut next to the line and not on top of it, you should also cut on the side of the line where you don’t want the material. This will result in you getting the correct size and not being an mm or a few short.
Place a guide piece(cutting iron)
You can use freehand to cut but this is usually very jagged. That is why I recommend using some sort of material as a guide to keeping a straight and smooth line.
A cutting iron can be a round bar with a type of handle welded to it or just a piece of angle iron tacked to the metal you want to cut. Avoid any flat bar or low profile piece because you will need something to slide your nozzle along to keep it on the line.
Heat up the material
I recommend you pass about 1 to 2 times over your line with the lit torch and at a brisk pace, this is to heat it up a bit to give a cleaner cut. Before you start your cut you should keep your torch over the area you are looking to cut till it is red hot or almost red hot then you can start your cut.
If you aren’t sure what you are doing and how to cut you should read my post on how to set up and use a cutting torch. Scroll to the bottom of the post you can find in detail how to cut with a cutting torch. Else, I would recommend you check out a few youtube videos before you attempt to cut.
Cutting the straight line
When you start to cut you should try to keep a steady pace and try not to shake from left to right while you are cutting.
Problems you can face
If you heated up the metal and it just doesn’t seem to start cutting you should try and change you angle you are holding your torch relative to the material or you can try to heat it up a bit more.
Other problems I cover in the post mentioned above “how to cut with a cutting torch” that you can check out.
Conclusion
In conclusion, when using a cutting torch to cut anything from a circle to a straight line you will need to use a bit of intuition and a lot of practice. Not every situation is the same and there are a ton of different materials and sizes out there. It will be impossible to go over every single thickness that is why you should use your own instinct when cutting with a mix of these guidelines mentioned above. Remember “practice makes perfect”.