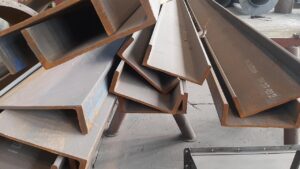
Before you even start to weld make sure your machine has power, your earth is connected, you have gas in your cylinder, and your workpiece is properly prepped (no rust, scale, or slag).
If you aren’t prepared to weld then you will most likely run into problems. Just do those checks before you weld then you will avoid most of the common problems when MIG welding. You can read my comprehensive guide on how to set up and use a MIG welding machine like a pro.
MIG welding problem check list
Problem | Solution |
Wire not running smoothly | Check wire feeder, correct wire thickness, torch connection, or liner. |
Wire not running at all | Check above mentioned solution, wire arced to contact tip, or drive roller. |
Porosity | Check for correct gas flow and wire isn’t sticking out too far. |
Shroud/nozzle arcing | Clean nozzle or replace |
Gas leaking | Soap test pipes and gauge/regulator |
Wire arced to contact tip | Remove arced wire or replace contact tip |
Burning holes | Decrease volts, weld a bit faster, or check that you are using the correct wire thickness |
Sputter | Decrease wire-speed or increase voltage |
Welds crack immediately | Increase cooling time or check that you are using the correct wire. |
Workpiece deformed | Include removable stiffeners before welding or weld in short bursts. |
Wire not running smoothly
There are four major reasons that your wire isn’t running smoothly.
- First of all, it can be that your wire feeder is set too tight or too loose, try adjusting it to see if it helps.
- The second reason can be that there’s a loose connection in your torch, try maneuvering it around in your hand and check if you notice a difference. If you notice something you will most likely have to replace the torch or have it fixed.
- Thirdly your wire can be too thick for your contact tip to pass through, just make sure you have the correct contact tip for the wire. The size should be indicated on the contact tip.
- Lastly, the torch liner can be damaged. This is unlikely, but if it is a very old torch you can take it out and look for any damages. If there’s damage to the liner you will have to replace it, there’s no way to fix it.
Wire not running at all
When you press your button and you can see your wire feeder running, but the wire isn’t moving. It can be for the same reasons as mentioned above, just more severe or some other reasons mentioned here.
- Wire arced to the contact tip
- The drive roller is worn out
- The wrong size groove on the drive roller is used
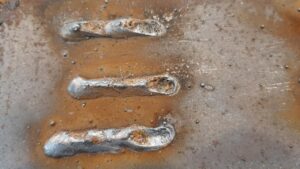
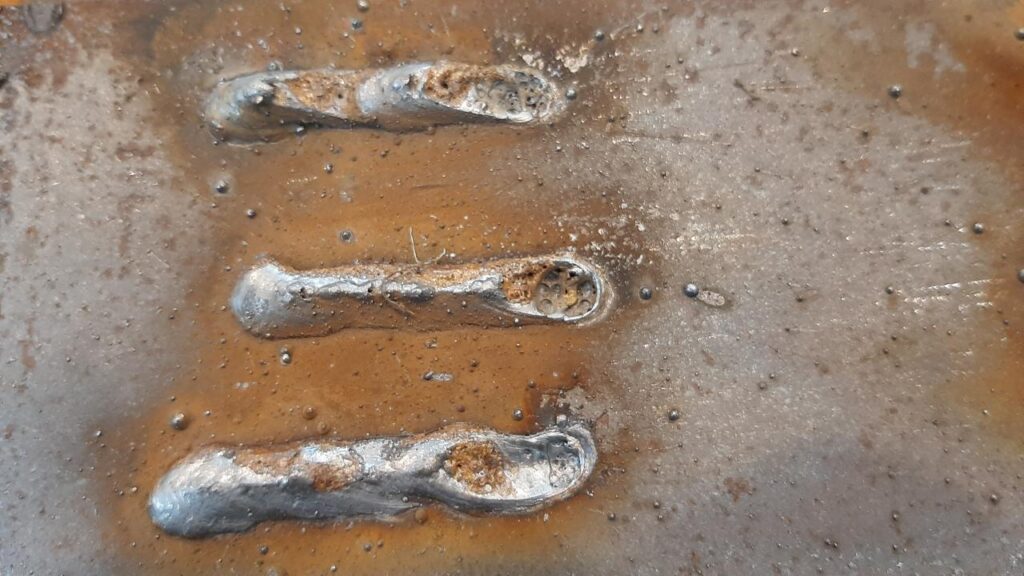
Holes in your weld (porosity)
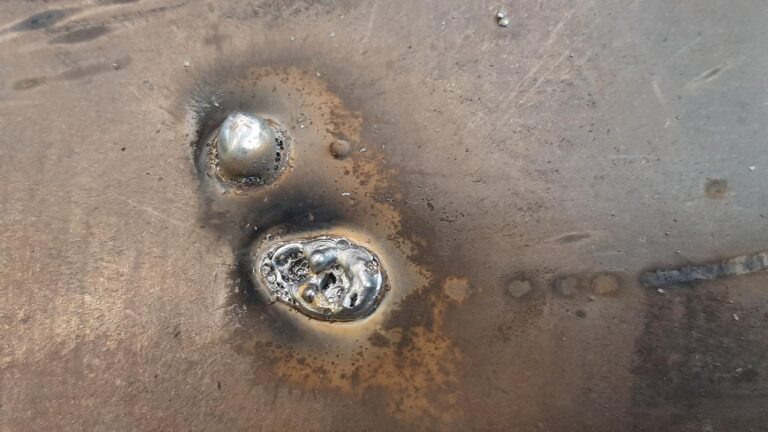
Porosity is air mixing with the molten metal. That is why we use a gas or a flux, it is to protect the molten metal from mixing with air.
Preventing porosity
Taking that into consideration the reason you are getting porosity is that there isn’t enough gas flow or any gas when you are welding. Make sure your gas cylinder isn’t empty or something is blocking the gas, like a knot in your hose.
Having your wire sticking out too far can also cause porosity because the gas has dispersed out too much to form a proper protective shield.
Read up more on porosity here. What is porosity and how to prevent it?
Shroud/nozzle arcing

This happens when you have a piece of slag trapped between your shroud and contact tip or holder. This in turn causes you to get an arc when you touch the metal with the shroud and press the button.
You must remove the shroud and clean out the metal. If the slag doesn’t come out you will most likely have to replace your shroud.
Having your shroud able to arc might not be of major concern, considering that you don’t touch the metal with your shroud when welding, but you should fix this to avoid any arc strikes on your work.
Gas leaking and you can’t find the cause
First, try using the soap test on the gauge and hose, and if that doesn’t work. Your problem is in the machine or in the welding torch. Try stopping the gas flow to certain points and see if the flow stops. If the flow stops then you know the leak is passed that point. Keep moving forward so you can narrow down the leak and replace the part. You can also try and change parts to see if the leak stops.
This might not be the best of help, but there are so many different machines that it won’t be possible to cover them all. Try to use your own intuition and you will find and fix the leak. If I can do it then you can.
Wire arced to the contact tip
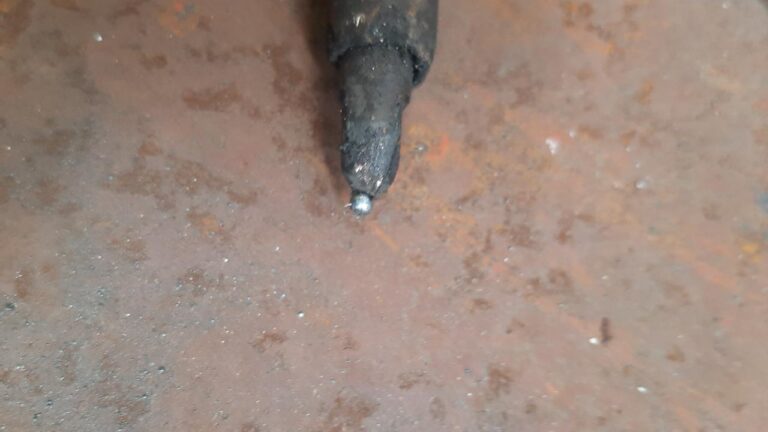
Depending on the severity of the arc you can do three different things. They are listed from least severe to most.
- Take pliers and break the arced tip off.
- Grind away the tip of the contact tip till the wire comes loose.
- Replace the contact tip if it’s arced too deep.
To help prevent this from happening again you should increase your wire speed or decrease your volts slightly.
Burning holes in your metal
When you burn holes through metals it can be that the machine is set too high for the thickness of the metal, you are welding too slowly or the wire is too thick for the metal. Take a piece of off-cut, practice, and play with the settings a bit till you are happy with the result. Then continue to weld on your main workpiece.
Machine sputter
The machine’s wire speed is too fast and the volts are too low. Resulting in the sputter and the torch being pushed back by the wire. This is due to the machine not being able to melt the wire in time so it gives a short burst of increased voltage to keep up with the wire.
Sputter can also happen when you just start your weld. This is usually not a problem the machine will adjust and normalize.
If it doesn’t normalize or sputters too long before normalizing. Immediately adjust your wire speed and volts to match each other. Sputter leaves an inconsistent weld that might have to be ground out and redone.
Getting a lot of spatter
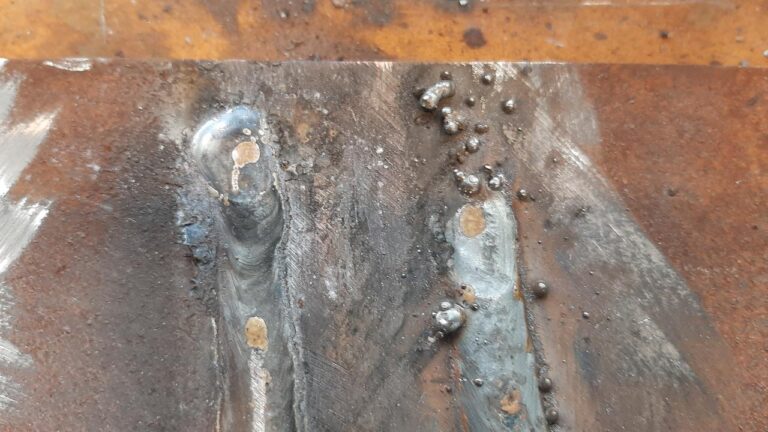
Spatter in welding is small speckles of the welding wire that spatters around when welding. This is a by-product of welding.
Some things that can cause excessive spatter and how to prevent it.
- Too much gas flow
- Welding machine voltage set too low
- Dirty base metal (Rust/Scale/Slag)
- Oil on the base metal (Anit-spatter/Cutting oil)
The best way you can prevent spatter is to set your gas flow and wire speed a bit lower and set the voltage a bit higher. You should also be sure your work piece is cleaned from the elements mentioned above.
Else you can try playing around with your setting till you get less spatter. Just note that spatter is inevitable with MIG welding and a bit of spatter is normal.
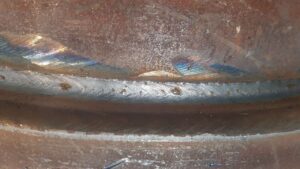
Welds keep cracking immediately
This can cause by not using the incorrect wire for the metal you are welding or rapid cooling of the weld. It is more common the wrong wire is used. You might be using stainless steel wire while welding stainless, but it can still crack rapidly because your wire most likely is a different grade of stainless to your base metal. Make sure you use the correct grades especially if you are welding a harder type of metal.
Workpiece deformed
After spending a bunch of time building the ultimate piece, just to weld it and have it become warped, out of square, or just bent.
Preventing your workpiece from deforming
Now to prevent your work from deforming you should not have too much heat applied while you are welding. Do this by using a short burst of welding. The length of each weld depends on the thickness of the metal.
You can clamp down your work to a strong workbench or sturdy channel/beam that won’t have any heat directly applied to it. Just remember to let the piece cool down before removing the stiffeners.
What to do after your workpiece deformed
After it is deformed you might feel angry and just like starting over, but there’s still a way to save it.
- The simplest way is just to try and bend it back by using force. Use something to give you leverage.
- You can clamp it down back into shape and apply a bit of heat to the piece using an oxy-fuel torch. Just let it cool down afterward before removing the clamps.
Conclusion
Welding is like a form of art. You can watch a ton of tutorials and read a lot of articles on the subject, but to actually know what you are doing you should practice and try to figure out the problems on your own before you look online for a solution.
I have been incredibly lucky to work alongside very skilled welders and boilermakers that I have learned a lot from, but I have also figured out a lot on my own during my years of working in fabrication. So I encourage you to try things on your own and figure stuff out you will never forget what you learned.